
Last updated November 21, 2026
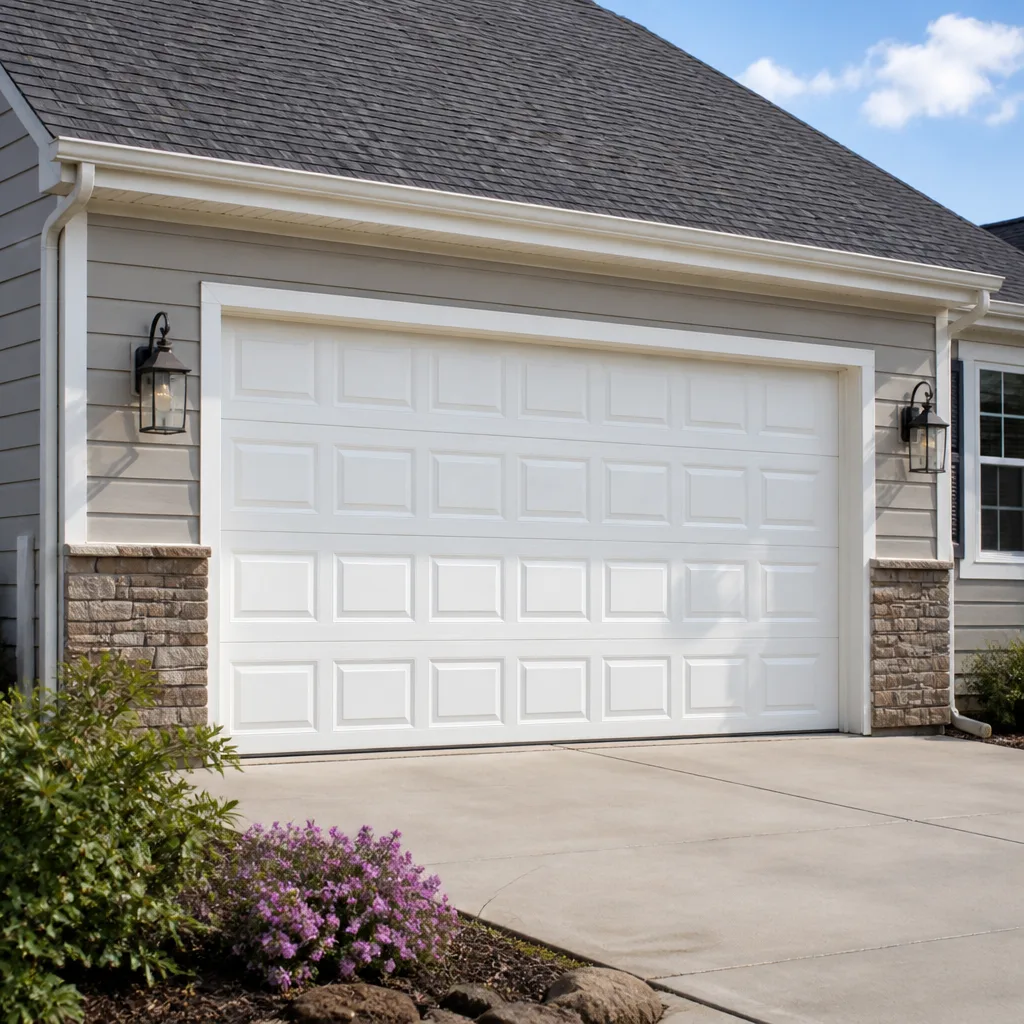 Raised-panel steel
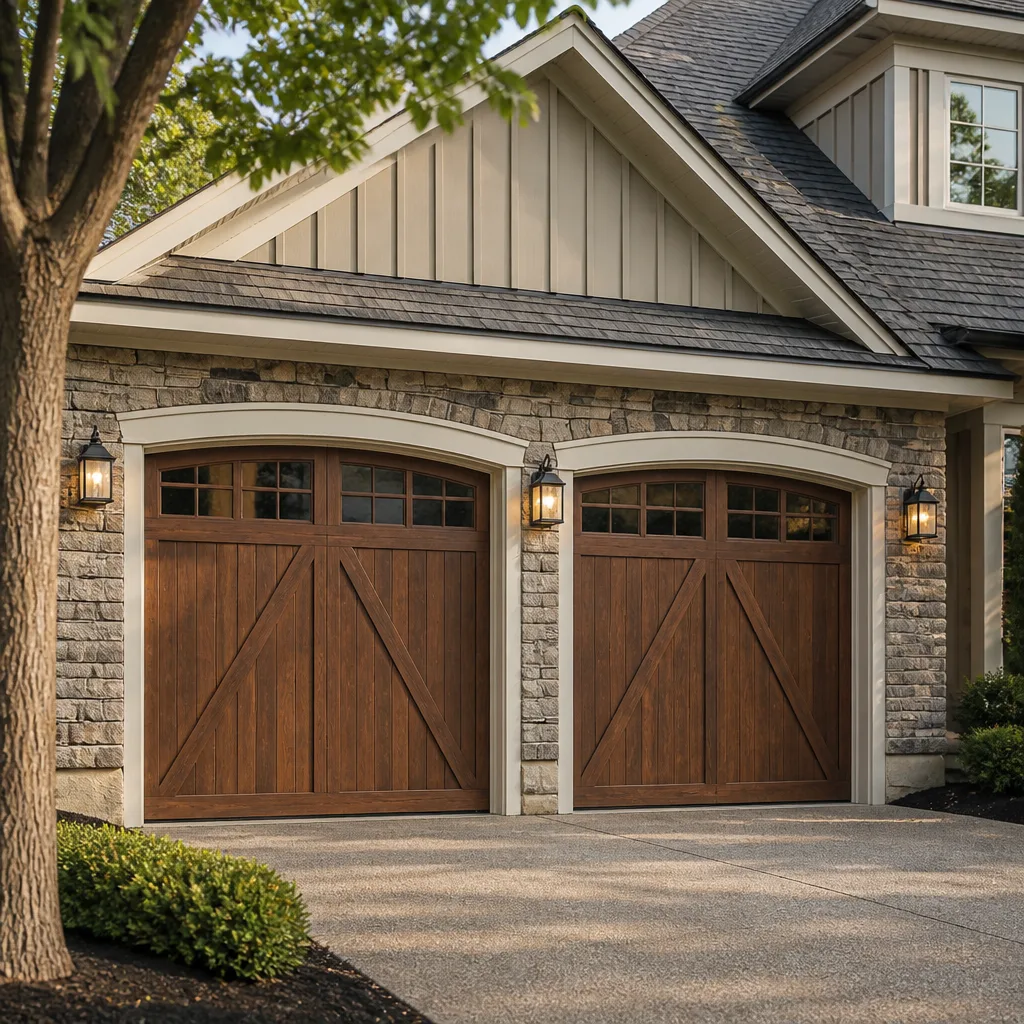 Carriage house
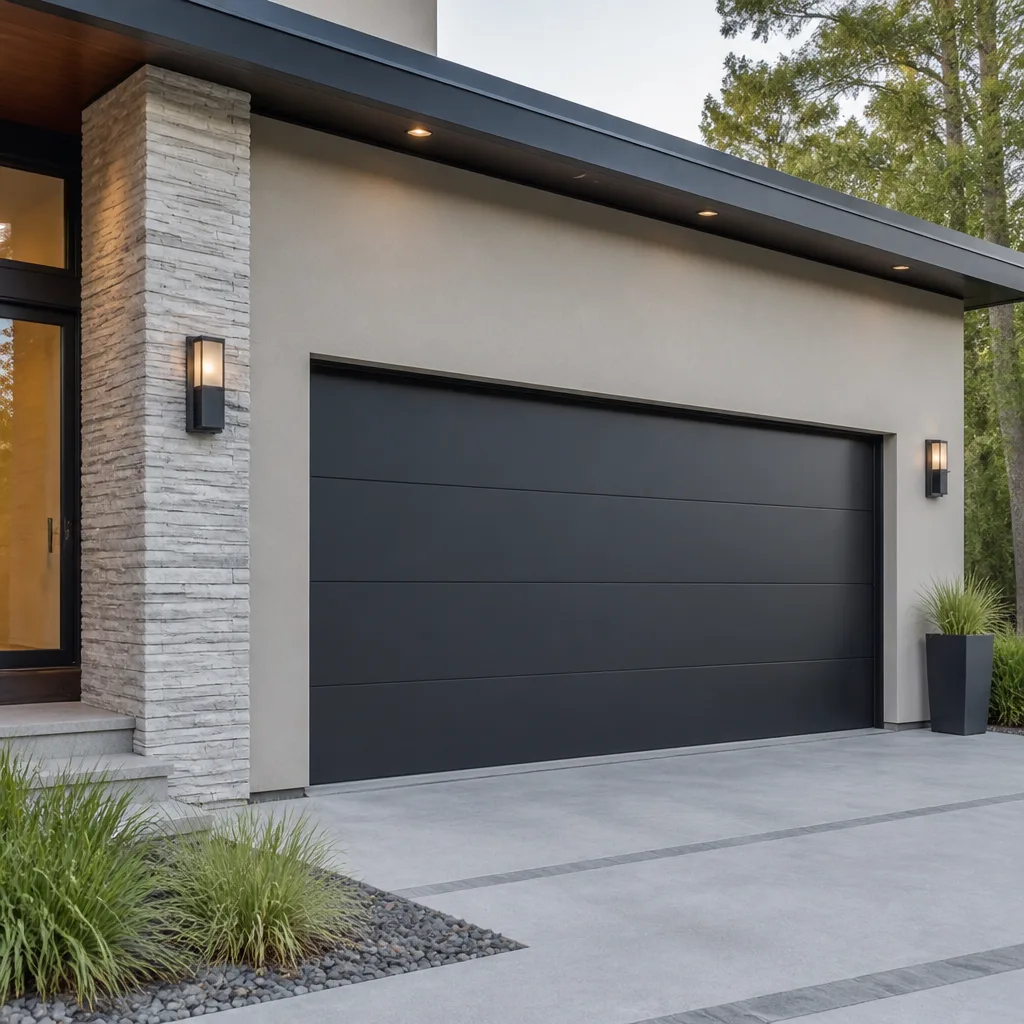 Modern flush
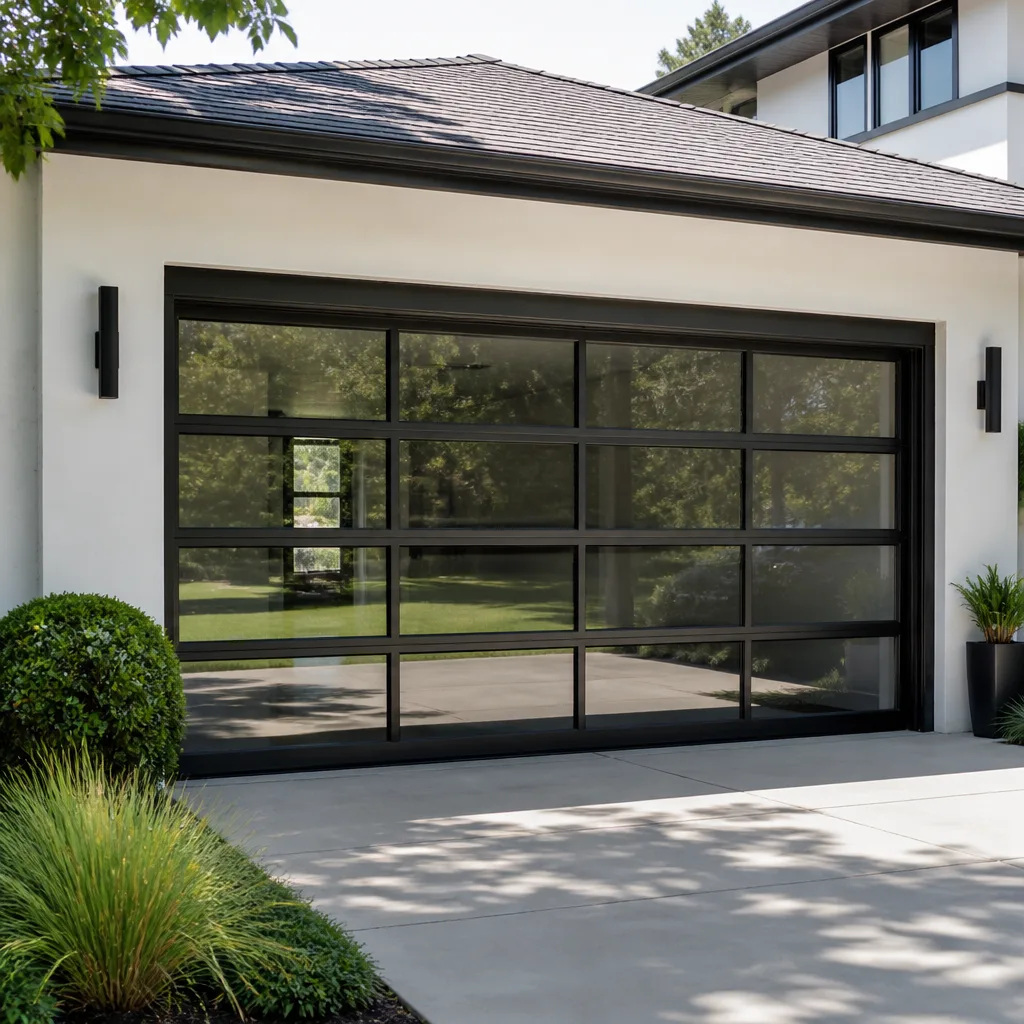 Full-view glass
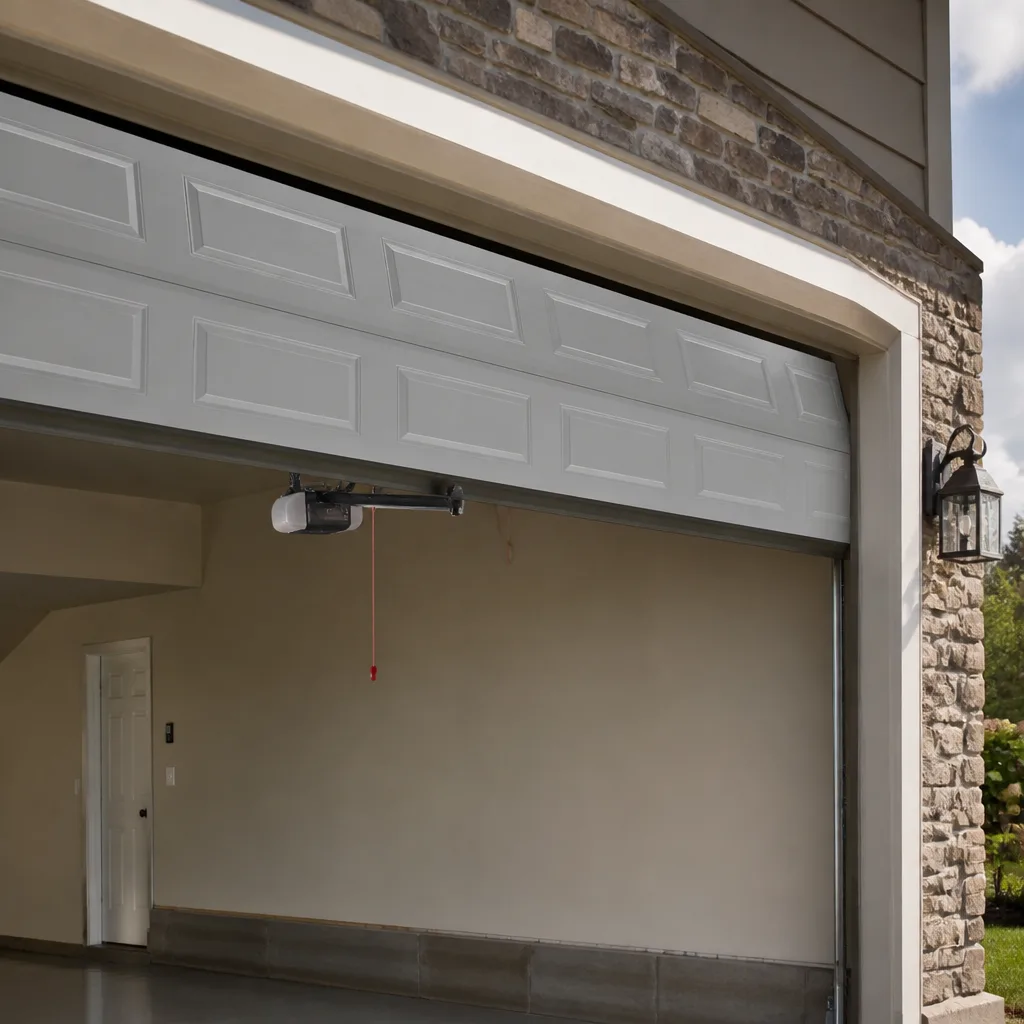 LiftMaster openers
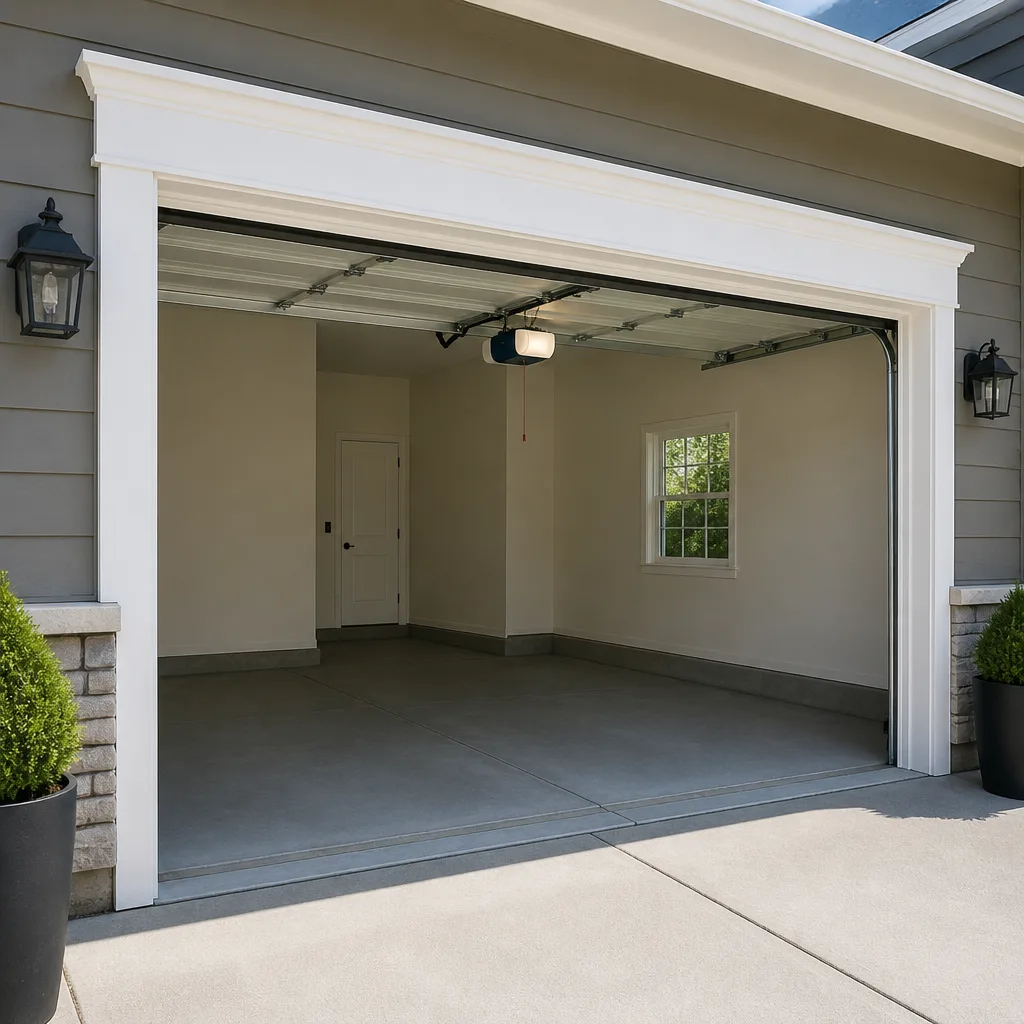 Chamberlain openers
Full 25-point door and opener safety check with every visit - springs, cables, rollers, tracks, and your LiftMaster or Chamberlain opener included
You get a price before we start. It does not change when the pro arrives.
Get your free estimateDIY vs Professional Garage Door: The Auburn Homeowner’s Decision Guide
Torsion springs store enough energy to break an arm. That’s not a liability disclaimer at the bottom of a service page – it’s the actual reason the DIY math changes for one specific task. Most garage door jobs in Auburn are genuinely within reach of a careful homeowner with an afternoon and a socket set. Weatherstripping, sensor alignment, opener programming, lubricating the tracks: these are honest Saturday-afternoon work. But a handful of tasks carry injury risk high enough that the savings stop making sense, and the line between “safe DIY” and “call someone” isn’t where most people assume it is. This guide sorts the jobs into three buckets – safe, risky, and professional-only – and explains the reasoning behind each one, so you can decide what to tackle and what to hand off.
Quick Answer
Most garage door maintenance and small adjustments are safe to do yourself. Spring replacement, cable replacement, and any work on the door with the springs under tension are professional-only jobs because of stored mechanical energy that can cause serious injury. In Auburn, the practical split is: weatherstripping, sensor alignment, opener programming, and lubrication are DIY-safe; panel and track work is risky DIY; springs, cables, and torsion hardware should go to a trained technician.
Styles & brands we work with
- Raised-panel steel
- Carriage house
- Modern flush
- Full-view glass
- LiftMaster openers
- Chamberlain openers
Table of Contents
- The Decision Framework: Why Skill Isn’t the Real Question
- Task-by-Task Matrix: Safe, Risky, and Professional-Only
- What DIY Actually Costs in Tools (and When It Doesn’t Pay Off)
- How to Do the Genuinely DIY-Safe Jobs
- Washington Warranty and Insurance Implications of DIY Work
- Auburn Climate and How It Affects Garage Door Wear
- When Calling a Pro Early Saves Money
- DIY vs Professional: Realistic Cost Comparison
The Decision Framework: Why Skill Isn’t the Real Question
The usual DIY-versus-professional conversation centers on skill. Can you turn a wrench? Can you follow a video? That framing misses the point for garage doors. The real question is whether a mistake on a given task produces a bad outcome you can recover from, or a bad outcome that involves a hospital visit.
A weather seal installed crooked is a crooked weather seal. You see it, you fix it, nobody gets hurt. A torsion spring that slips off a winding bar under load is a different category of problem entirely. The energy stored in a spring under tension doesn’t care about your skill level – it releases whether you were ready or not. So the classification that actually matters is injury risk, not confidence.
Here’s how we sort the work at Auburn Garage Door Repair Co:
- Safe DIY: the failure mode is cosmetic, minor, or easily reversed. No stored energy involved.
- Risky DIY: the task is possible with care, but a mistake can damage the door or cause a pinch, cut, or fall. Usually worth doing yourself only if you’ve done it before.
- Professional-only: the failure mode includes serious injury. This is where the DIY reasoning stops working.
That third bucket is short – but it’s where nearly all the injuries in this trade happen, and it’s the bucket most homeowners underestimate. Auburn homes with older doors, particularly those built in the 1980s and 1990s, often have torsion springs that are past their service life, and a spring that’s about to fail is exactly the wrong thing to learn on.
Task-by-Task Matrix: Safe, Risky, and Professional-Only
Here’s the breakdown of common garage door jobs by category, with the specific reason for each classification. This is the section worth printing out.
Safe DIY
- Weatherstripping replacement – no stored energy, low risk. The worst case is a seal that doesn’t sit flush.
- Photo-eye sensor alignment – low voltage, no moving parts. The sensors are the two small lenses near the bottom of the tracks; nudging them back into line is a five-minute job.
- Opener programming and remote pairing – pure settings work on the control board. Nothing mechanical.
- Track and roller lubrication – extends door life and quiets the door. No tension involved.
- Panel cleaning, painting, and cosmetic touch-ups – finish work that doesn’t touch the mechanism.
- Testing the auto-reverse safety feature – a safety check that takes thirty seconds and should be done every month.
Risky DIY
- Roller replacement – doable with the door fully open and secured, but a door that shifts unexpectedly can trap fingers. Worth doing only if you understand how to lock the door in place first.
- Drum and cable adjustment (with springs relaxed) – fine in theory, easy to get wrong in practice. A cable that slips off a drum under partial tension is a genuine hazard.
- Hinge replacement – usually safe on a section door, but a hinge under load can snap. Always with the door fully closed.
- Bottom bracket work – this is a grey zone. Some manufacturers treat bottom brackets as a professional-only component because the cables run through them. Treating it as risky DIY is generous; the safer call is to skip it.
Professional-Only
- Torsion spring replacement – the single most dangerous job in the trade. A torsion spring under full wind carries enough force to break bones and cause fatal injuries when it fails improperly. There’s no safe way to do this without the right winding tools and the technique to use them.
- Extension spring replacement – slightly less technical than torsion, but a stretched extension spring under load is still a serious hazard. The same rule applies.
- Cable replacement – cables work with the springs and are under constant tension. A cable that snaps under load can whip with enough force to cause serious injury.
- Track replacement or major track realignment – a misaligned track can cause a door to fall or twist, and a door off its track is heavy enough to cause injury. This is garage door repair territory.
- Opener motor or logic board replacement – not because of injury risk, but because the diagnosis is the hard part. Replacing the wrong part wastes money; getting it right the first time needs a multimeter and the wiring diagram for that specific opener brand.
That summary covers the safety-critical jobs, and it’s where we spend most of our time on the phone with Auburn homeowners. If you’re staring at that third list and not sure which category your problem falls into, we can help you figure it out.
What DIY Actually Costs in Tools (and When It Doesn’t Pay Off)
Here’s a part of the DIY math most guides skip over. A true DIY garage door repair, if you want to do it properly, requires specific tools – and the tool cost can erase the savings on a one-time job.
A complete set that covers spring work on a standard residential door looks roughly like this:
- Winding bars (a pair, sized for your spring) – the essential tool, and one you should not substitute. Vice grips and screwdrivers are not winding bars.
- A quality socket set with the right hex sizes
- C-clamps for securing the door on the track
- A drill and driver bit set
- A cable puller or come-along for cable work
- Safety glasses and gloves rated for mechanical work
- A tape measure and winding bar holder (optional but useful)
The winding bars alone are worth understanding before you buy. Good ones cost real money, and the cheap ones are the ones that slip. On a single repair job, the total tool cost frequently lands in the same range as paying a professional – and that’s before you account for the possibility of getting the job wrong and paying twice. That’s why we tell people: DIY makes financial sense if you’ll use the tools again, or if you’re doing a job that uses tools you already own.
For weatherstripping, you need a utility knife and a screwdriver. That’s it. For sensor alignment, a screwdriver and your hands. For opener programming, the opener’s manual and a few minutes. Those are the jobs where DIY actually pays.
Spring work is where the tool math stops working – and that’s the same place the safety math stops working. A professional already owns the tools, has done the job hundreds of times, and can be in and out in a couple of hours. That’s the trade: you trade the tool cost and the learning curve for a trained technician who does the job in one visit.
How to Do the Genuinely DIY-Safe Jobs
These are the jobs worth your time. Here’s how to do them properly.
Replacing the Bottom Weather Seal
- Close the door fully and unplug the opener (or pull the release cord) so it can’t activate while you’re working.
- Look at how the current seal is attached. Most bottom seals either slide into a track in the bottom section or are held with screws or nails at the edges.
- Remove the old seal. If it’s a slide-in seal, pull it out one end first, then the rest.
- Cut the new seal to length with a utility knife, leaving a slight overhang at each side, and trim after fitting.
- Slide it in or fasten it down. The seal should sit flush against the floor without gaps.
- Re-engage the opener and test the door. It should close fully with an even seal along the floor.
Aligning the Photo-Eye Sensors
- Find the two small lenses near the bottom of the door tracks – one on each side.
- Look at the LED indicator light on each. A solid light on both means they’re aligned and communicating.
- If one is blinking, the alignment is off. Gently loosen the mounting bracket on the blinking sensor and move it inward or outward until the light goes solid.
- Test by walking between the sensors while the door is closing. The door should reverse immediately.
Programming a New Remote
The process varies by opener brand – LiftMaster, Chamberlain, and Genie each use different pairing sequences. The manual for your opener will have the sequence for that model. If the manual is gone, you can usually find the model number on a sticker on the back or underside of the opener head, and the manufacturer’s documentation will have the pairing steps.
Lubricating the Tracks and Rollers
Use a silicone-based lubricant on the rollers, hinges, and torsion bar bearings. Avoid grease or heavy oil on the tracks themselves – those attract dirt and gum up. A light coat on the vertical and horizontal tracks keeps the rollers rolling smoothly, and a few drops on the hinges at each section joint quiet the door down.
Testing the Auto-Reverse Safety Feature
Place a 2×4 flat on the floor in the door’s path and close the door. If the door doesn’t reverse on contact, the safety setting needs adjusting. This test should happen every month – it’s the single easiest safety check on the whole door.
Washington Warranty and Insurance Implications of DIY Work
Self-installing certain components can affect warranty coverage in ways most homeowners don’t anticipate. This is not a scare tactic – it’s just how most manufacturer warranties are written.
Door and opener warranties from brands like Clopay, LiftMaster, and Chamberlain typically require that installation and service be done by a qualified technician to keep the warranty in effect. That doesn’t mean a homeowner loses the warranty by adjusting a sensor – but it does mean that if a defect claim arises after a self-installed spring or opener installation, the manufacturer may decline coverage on the basis that the work wasn’t done by a qualified installer.
On the insurance side, homeowners policies generally cover garage door damage from certain perils, but if a self-installed door falls and damages property or injures someone, the coverage question gets more complicated. Washington State doesn’t require a license to do your own work on your own home, but that doesn’t change how an insurance claim might be reviewed. If you’re doing significant structural work – a full door or opener swap – it’s worth a five-minute call to your insurer to understand how they view owner-installed work before you start.
For minor work, the warranty and insurance angles mostly don’t come up. For springs, cables, and opener installs, they do. If you’re not sure where your job falls, ask the manufacturer directly – most have a warranty line – or call us and we can walk you through what the typical warranty language says.
Auburn Climate and How It Affects Garage Door Wear
Auburn sits in the Green River Valley, with cool, wet winters and dry summers. That climate has specific effects on garage door hardware that are worth knowing about if you’re deciding how much to DIY.
The wet months – typically November through March – send humidity into the garage through gaps in the weather seal. On a door that lives with that humidity every year, wood composite panels can swell, steel panels can rust at the seams, and hinges at the bottom sections can corrode. The weather seal is the front line against that, which is why replacing it when it wears out is worth the half-hour.
Temperature swings between seasons put stress on springs. A torsion spring works by being twisted under tension, and the number of cycles it goes through (up and down each time the door opens and closes) is what eventually causes it to fail. That cycle count is independent of climate, but the cold months in Auburn tend to be when springs fail, because cold makes the metal more brittle.
The rollers and tracks are also affected – summer dust accumulates in the tracks, and the dry heat makes the lubricant break down faster. That makes a twice-yearly lubrication routine worth the time, usually once before summer and once before winter. If you’re doing that work yourself, great. If you’d rather have someone look everything over at the same time, we can do that.
One more Auburn note: a lot of the older homes around downtown and the neighborhoods off Auburn Way have single-car garage doors that were installed decades ago. Those doors often have original springs and original cables, and they’re the ones where a “small fix” turns into a bigger problem if the underlying hardware is at end of life. We see it enough to mention it.
When Calling a Pro Early Saves Money
This is the part most DIY guides get wrong. The question isn’t “DIY versus professional” in the abstract – it’s “does a DIY attempt on this specific problem make the eventual professional repair cheaper or more expensive?”
Two patterns come up again and again when we talk to Auburn homeowners:
When DIY is the smart first step
The problem is well understood, the fix is reversible, and a mistake leaves you no worse off than you started. A door that’s slow to close because the sensors are misaligned. A door that squeaks because the hinges are dry. A remote that’s stopped working. These are worth trying yourself – worst case, you’re still calling us, and you’ve lost twenty minutes.
When DIY goes wrong
The problem is a symptom of something deeper, and the DIY fix masks it until it becomes an emergency. A door that’s binding in the tracks might have a bent roller or a sagging track – a little oil quiets it for a week, then a roller fails under load and the door comes off the track. A door that closes unevenly might have a failing spring, and adjusting the opener’s travel limits just means the door is now being forced closed against a problem that’s getting worse.
A snapped spring is a repair. A door that’s fallen off the tracks because the spring was failing and a track got bent in the process is a bigger repair. Catching these early is where the cost savings actually live.
Beyond that, there are three situations where picking up the phone is almost always the right first move:
- The problem involves the springs or cables. Even if the symptom looks minor, the underlying hardware is safety-critical and shouldn’t be worked on without the right tools and training.
- The door is doing something it wasn’t doing before. New noises, a door that suddenly won’t close all the way, a door that reverses for no obvious reason – these are all signs of something changing in the mechanism, not just a setting that needs a nudge.
- You’ve already tried a DIY fix and it didn’t hold. A door that got better for a week and got worse again has an underlying cause that a second DIY round usually won’t solve.
DIY vs Professional: Realistic Cost Comparison
This is the section every homeowner cares about. The cost picture varies by job, so we’ve broken it down by task. These are typical ranges for the Auburn area – your written estimate from a professional is what sets the actual price.
Typical Cost Ranges by Job Type
| Job | DIY Cost (tools + materials) | Professional (typical estimate) | Who should do it |
|---|---|---|---|
| Weather seal replacement | $25 – $60 | $120 – $200 | DIY |
| Photo-eye sensor alignment | $0 | $95 – $150 | DIY |
| Remote programming | $0 | $80 – $125 | DIY |
| Lubrication (annual) | $15 – $30 | $100 – $160 | DIY |
| Roller replacement | $30 – $60 (rollers) | $150 – $250 | Either |
| Opener repair (board or motor) | $50 – $150 (part only, no diagnostics) | $180 – $380 | Professional |
| Torsion spring replacement (one spring) | $60 – $120 plus winding tools ($40 – $100) | $220 – $360 | Professional |
| Torsion spring replacement (matched pair) | $120 – $240 plus winding tools | $380 – $620 | Professional |
| Cable replacement (one side) | $20 – $40 (cable only) | $150 – $280 | Professional |
| New door installation | Not recommended | $900 – $2,500+ (varies by door and size) | Professional |
A few notes on that table. The DIY column for spring replacement assumes you already own the tools – if you’re buying winding bars for a one-time job, you’re spending $40 – $100 on equipment you’ll likely never use again, which brings the total close to professional pricing without any of the safety guarantee. That’s the economic case for professional spring work made purely in dollars, before any of the safety reasoning.
The professional ranges are typical estimates for common jobs. The written estimate is what sets the final price, and we always confirm it before any work begins. If a job turns out to be simpler than expected once we’re looking at the actual door, the price reflects that. If it’s more complex, we tell you before touching anything – not after.
For opener work specifically, a lot of the cost is diagnosis, not the part. Replacing a $50 logic board yourself when the actual problem is a stripped gear is a $50 mistake plus a $200 repair. That’s why garage door opener repair is worth handing to someone who knows the specific brand in your garage – we work on LiftMaster, Chamberlain, Genie, and Craftsman openers regularly, and diagnosing the actual failure usually takes less time than ordering the wrong part online.
Common Mistakes to Avoid
- Treating a torsion spring like an extension spring. They’re different systems and the wrong approach on a torsion spring can be catastrophic. The winding procedure is specific to the type and shouldn’t be improvised.
- Using vice grips in place of winding bars. We hear this one often enough to say it plainly: vice grips are not winding bars. They slip, and a slipping winding tool on a loaded spring is exactly the scenario that causes injuries.
- Adjusting the opener’s travel limits to work around a door problem. If the door’s closing unevenly or stopping early, the opener isn’t usually the cause. Forcing it to work by changing limits just masks the underlying issue and puts more strain on the door.
- Skipping the weather seal when it looks “good enough.” In Auburn, the seal is the main defense against winter moisture, and a seal that’s cracked or curled lets in enough humidity to rust the bottom panels over a season or two. Replacing it early is cheap; replacing panels is not.
- Ignoring a door that’s been getting louder over months. A door that’s progressively noisier is usually telling you that a roller, hinge, or bearing is failing. Catching it early is a small repair; letting it go is a bigger one.
- Starting a spring job without securing the door. Before any work on the mechanism, the door needs to be fully closed and clamped so it can’t move. Skipping this step turns a routine task into a dangerous one.
- Trying to fix a door that’s off its track without professional help. A door off the track can be heavy and unpredictable. Attempting to muscle it back into place is one of the more common ways homeowners end up with an injury.
See the difference
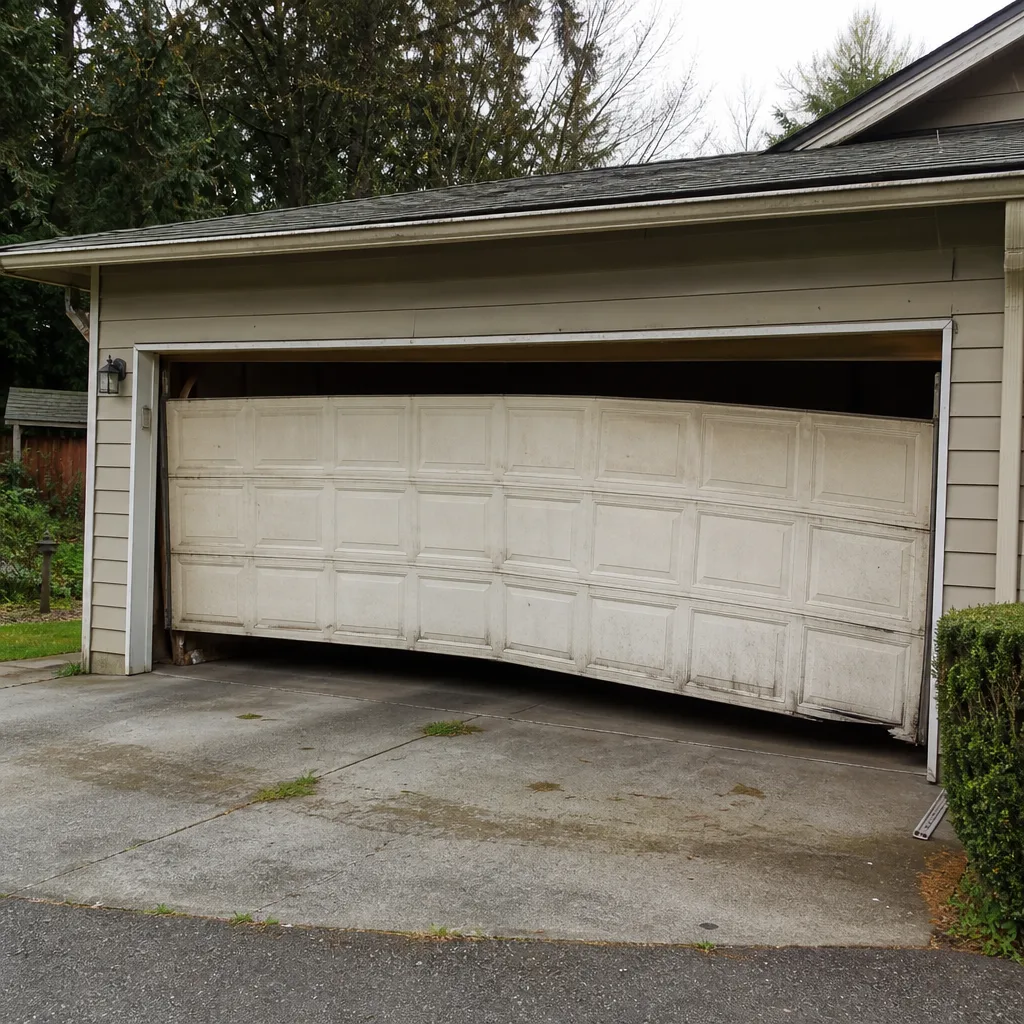 Before
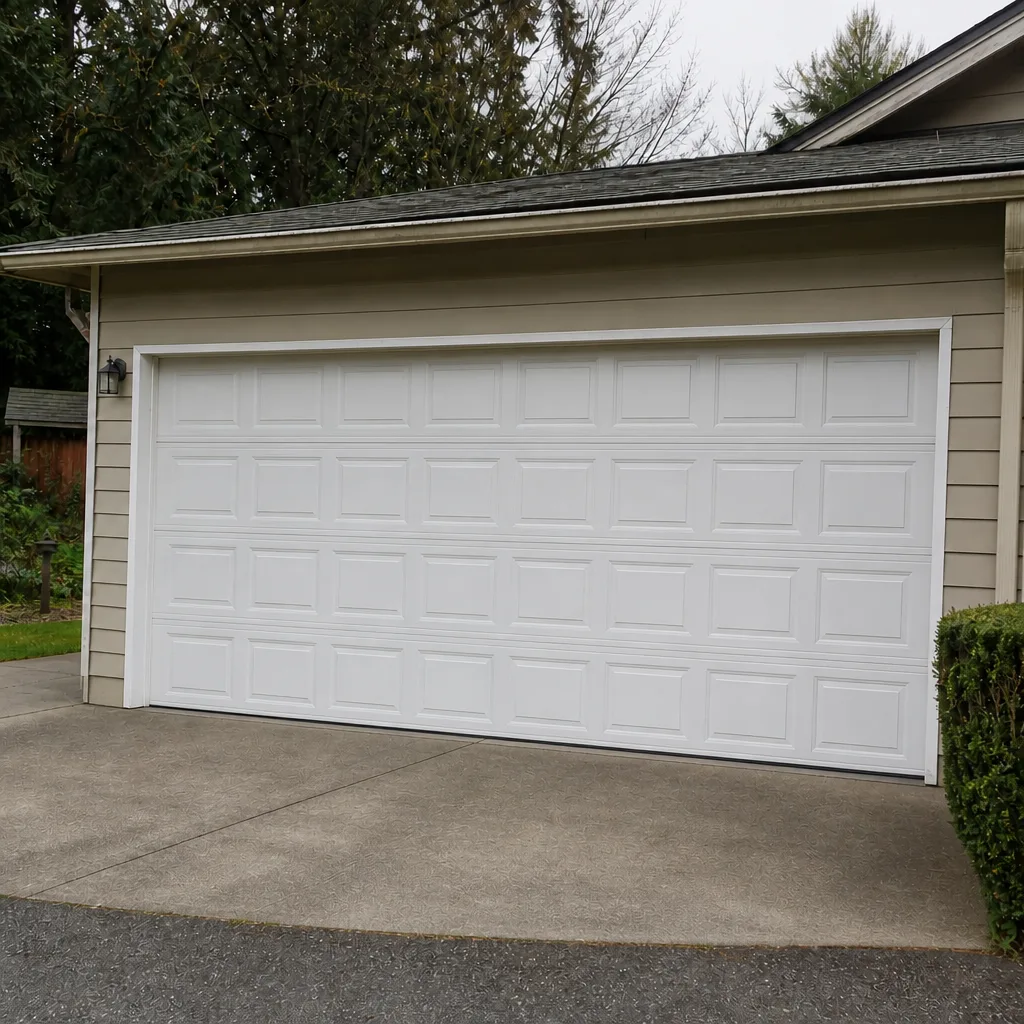 After
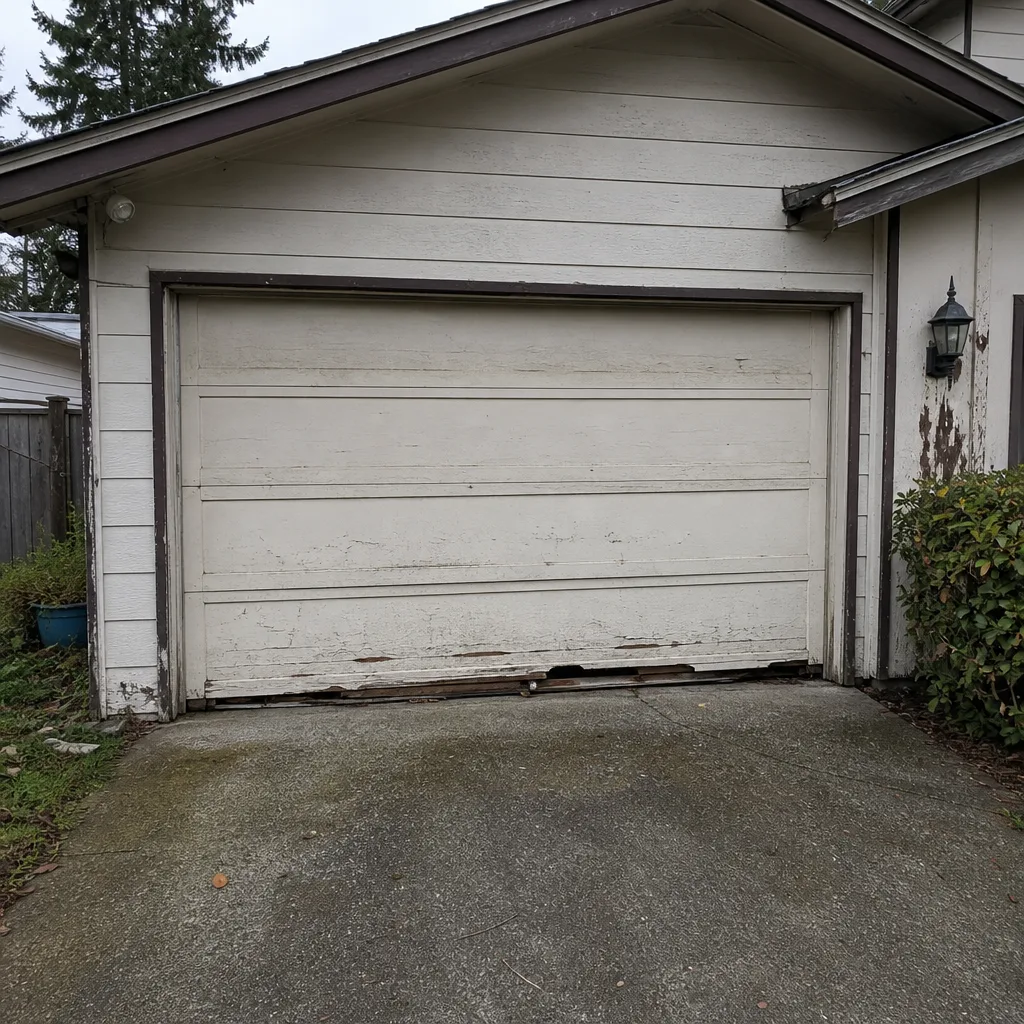 Before
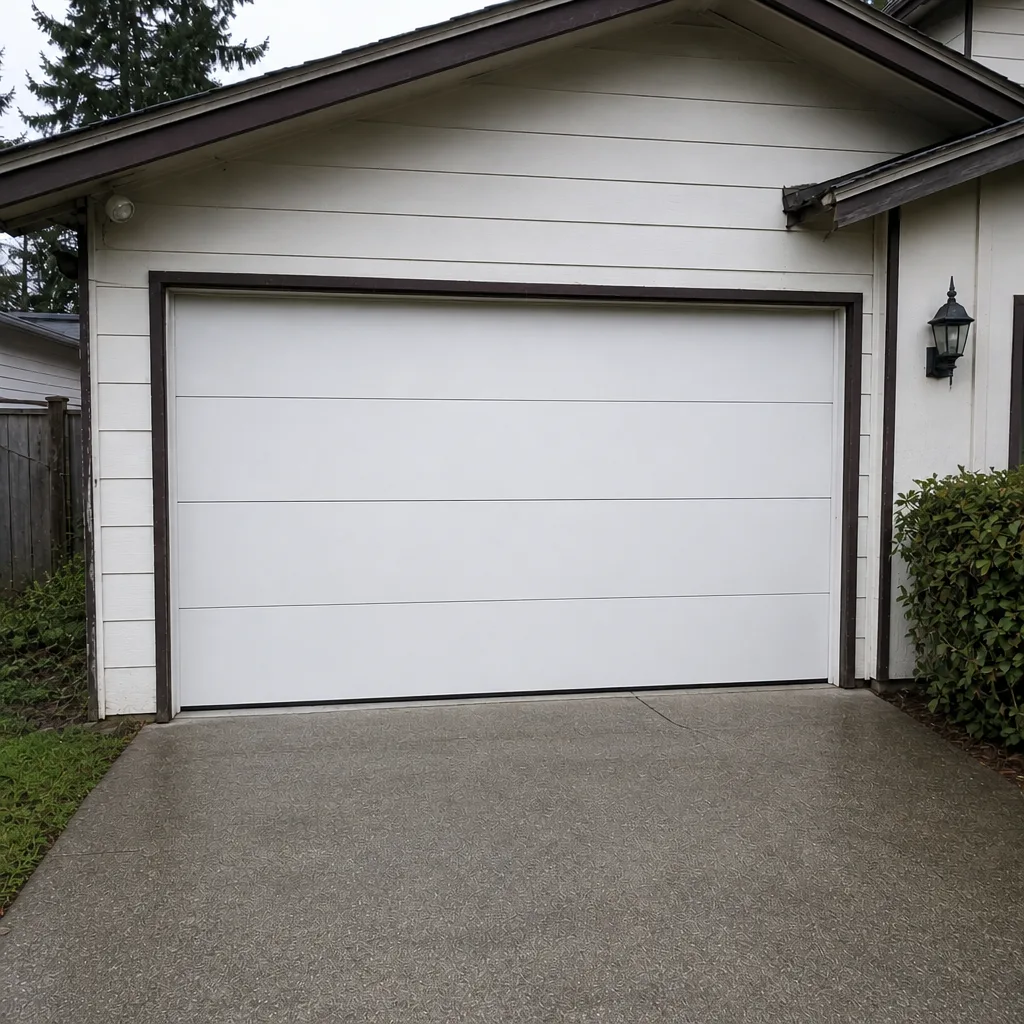 After
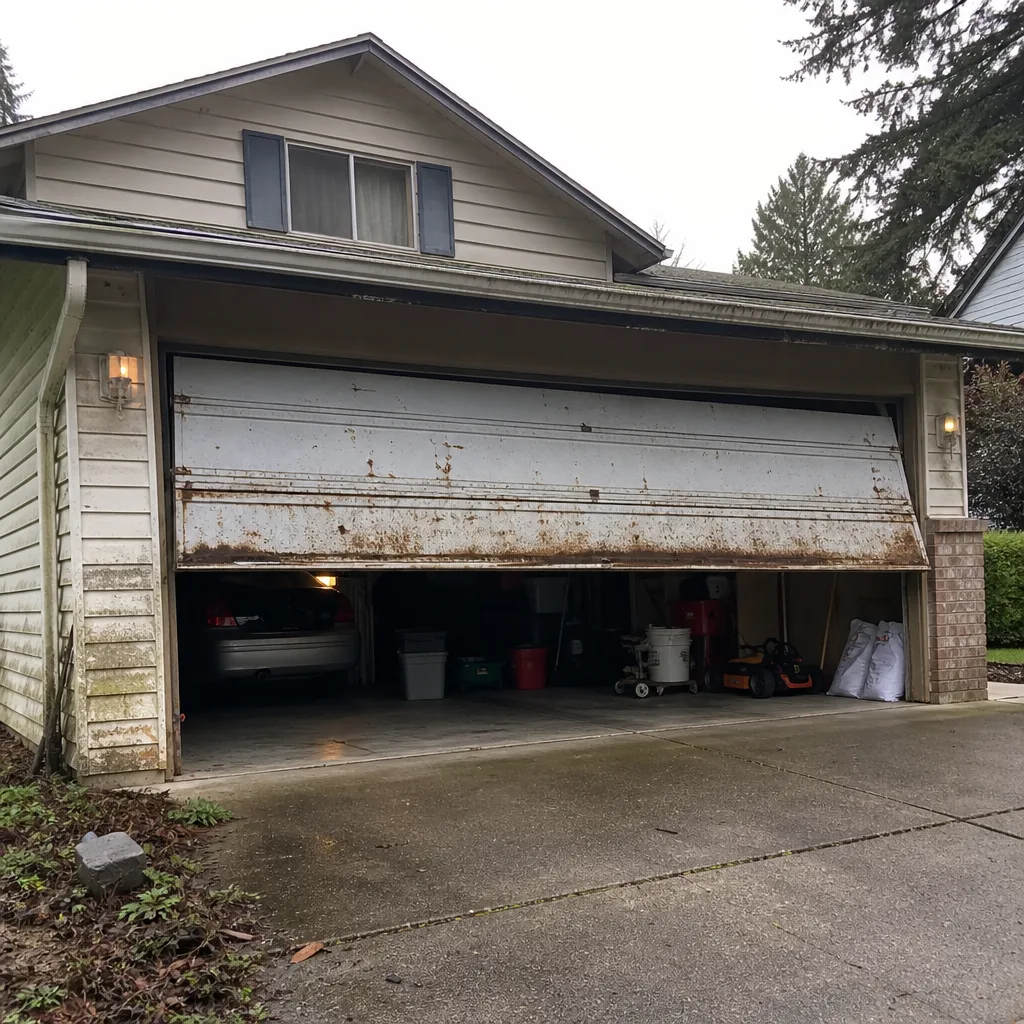 Before
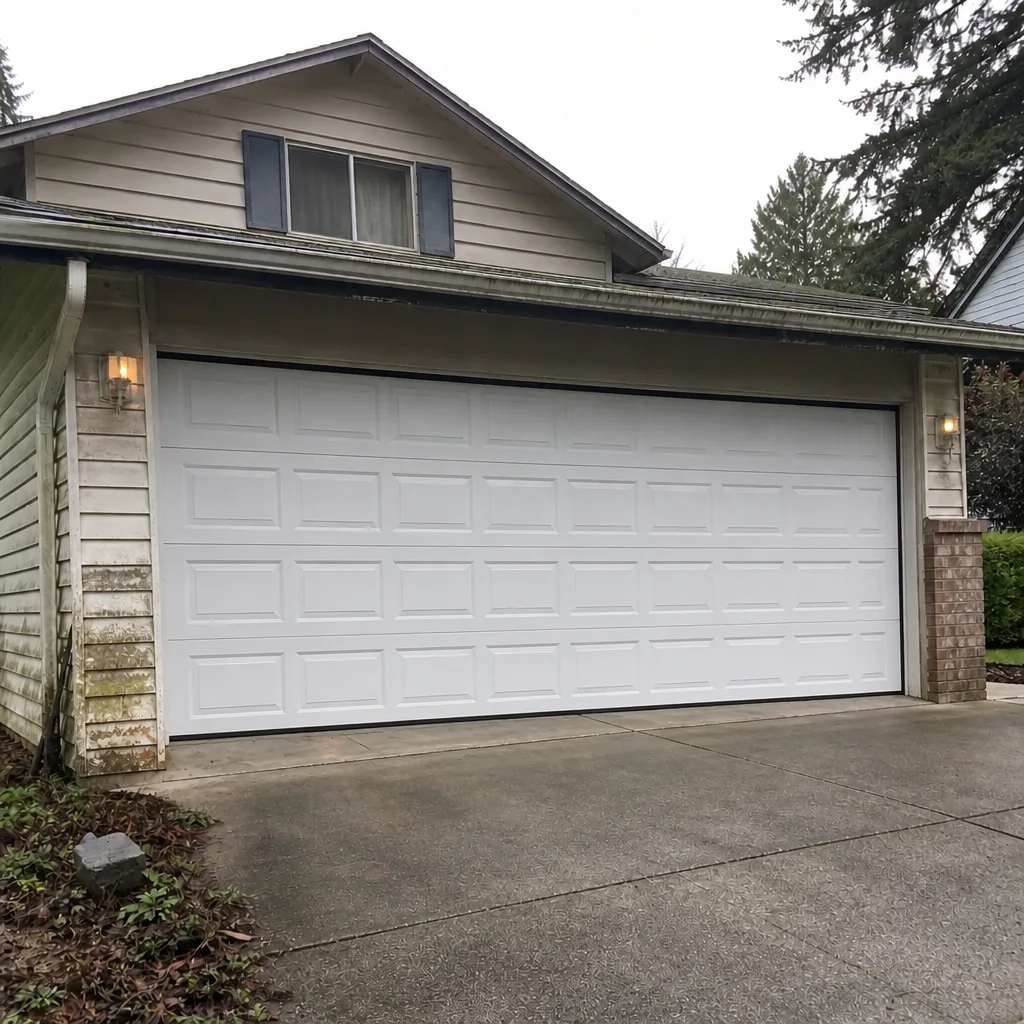 After
When to Call a Professional
Call a professional any time the job involves the springs, the cables, or a door that’s fallen off its tracks. Those are the tasks where DIY stops being a reasonable choice. Call us also if your door is doing something new – not just loud, but genuinely different from yesterday – because that’s usually a sign that something is changing underneath, and catching it early is almost always cheaper than managing the fall-out.
We also work with homeowners who’ve done some of the repair themselves and found the problem is bigger than expected. No judgment, no lecture. We diagnose what’s going on, tell you what’s actually needed, and quote it before any work starts.
Auburn Garage Door Repair Co offers free estimates in Auburn – call (833) 680-0666. We answer 24/7, with fast dispatch from 7am to 7pm, Sunday through Friday. Our technicians have up to 14 years of experience, and we work on the brand already in your garage – whether that’s a Clopay door, a LiftMaster opener, or a Wayne Dalton setup that’s been there since the house was built. From a worn weather seal to a full new installation, we can handle the whole spectrum without sending you to a second company.
If you’re not sure whether your problem is a DIY job or a professional one, the fastest way to find out is to describe it to us. A two-minute call usually answers the question.
Frequently Asked Questions
No – garage door spring replacement is not a safe DIY job. Torsion and extension springs store enough mechanical energy to cause serious injury when they fail or are released improperly, and the tooling and technique involved are not something to learn on your own door. This is garage door spring repair territory, and we recommend leaving it to a trained technician. Call (833) 680-0666 for a free estimate.
Typical garage door repair costs in Auburn range from about $95 for a sensor alignment to $380 or more for spring replacement on a matched pair. The specific price depends on the job – a single spring is usually around $220 – $360, while a matched pair runs about $380 – $620. Call (833) 680-0666 for an exact quote – estimates are free.
The written estimate sets the final price. We quote after looking at the door and confirming the diagnosis, and that’s the number you pay. If the job turns out to be simpler than expected, the price reflects that; if it’s more complex, we tell you before starting work, never after. Call (833) 680-0666 – estimates are free.
The local professional you’re connected with is licensed and insured as Washington State requires. We work with trained technicians who carry the credentials required for residential garage door work in this state. Call (833) 680-0666 for details on the Auburn service.
Weatherstripping replacement, photo-eye sensor alignment, opener programming, roller and track lubrication, and cosmetic panel work are all safe DIY jobs. Anything that involves the springs, cables, or door tension should go to a professional. If you’re unsure which category a job falls into, we can help you sort it out.
For many repair jobs, yes – we handle same-day service in Auburn for common repairs like broken springs, failed openers, and doors that won’t close. That’s why our garage door repair service is set up to move quickly. Call (833) 680-0666. We answer 24/7, with fast dispatch from 7am to 7pm, Sunday through Friday.
The Bottom Line
DIY makes sense for the small stuff – weatherstripping, sensors, lubrication, programming – where the worst outcome is a crooked seal or a remote that needs another go. It stops making sense at the springs and cables, because the injury risk is real and the tool cost erases the savings on a one-time job. In Auburn, that split is the practical answer: do the safe jobs yourself when you can, and call in a trained technician for anything involving stored energy. You’ll save money on the first list and avoid a much bigger problem on the second.
Not sure which side of the line your repair falls on? Call Auburn Garage Door Repair Co at (833) 680-0666 for a free estimate. We’ll tell you what the job actually involves and whether it’s something you can reasonably take on yourself. We answer 24/7, with fast dispatch from 7am to 7pm, Sunday through Friday.
Written by the team at Auburn Garage Door Repair Co.